If you are planning to apply for a UK visa, one of the most important things you need to know is that you do not need an agent to do this for you. You can book your own appointment, upload your own documents, and save yourself thousands of naira in the process because the entire process, when done correctly, is completely free.
In this guide, I am going to walk you through exactly how to book your UK visa appointment on VFS Global and how to upload your supporting documents yourself without paying anyone to do it for you. This is something I do for my clients regularly, and I want you to be able to do it yourself.
Why You Should Do This Yourself
Let me be direct with you. Agents are expensive, and a lot of them do a terrible job. I have personally seen agents use fake documents without the knowledge of the applicant to apply for visas. The result? The applicant gets slapped with a 5-year or 10-year visa ban because of something they did not even know about.
Your visa application is your responsibility. The more involved you are in the process, the better your chances of getting it right. Agents can cost you thousands of dollars, and the UK visa booking process itself is straightforward enough that you do not need anyone to hold your hand through it.
This guide will save you at least the £23 that VFS charges for document upload assistance and potentially a lot more if you were considering hiring an agent to handle the booking for you.
Before You Start: What You Need to Have Ready
Before you get to the appointment booking stage, you should have already:
- Filled out your UK visa application form online
- Completed your declaration
- Made payment for your UK visa application fee
One important note on payments: as of April 2025, VFS Global only accepts payment in Great British Pounds. Your naira card will not work for this. You will need a card that can process GBP transactions a dollar card or a multi-currency card works. If you are not sure how to handle this, that is a separate process worth sorting out before you get to this stage.
Once all of that is done, you will be at the stage where your application dashboard shows two key actions: Download Checklist and Provide Documents and Biometrics. That is exactly where we are picking up from.
Step 1: Download Your Checklist
The first thing you need to do is download your checklist from your application dashboard. Do not skip this. You will need to bring this checklist with you when you visit the visa application centre on your appointment date. Print it out and keep it safe.
Step 2: Click on “Provide Documents and Biometrics”
Once you have downloaded your checklist, click on the Provide Documents and Biometrics button. This will prompt a message letting you know that you are about to be transferred to the VFS Global website the commercial partner that handles biometric enrolment (fingerprints and facial photographs) on behalf of UK Visas and Immigration.
Click Continue to proceed to the VFS Global booking portal.
Step 3: Book Your Appointment on VFS Global
When you land on the VFS Global website, you will see a section for booking your appointment. Here is what to do:
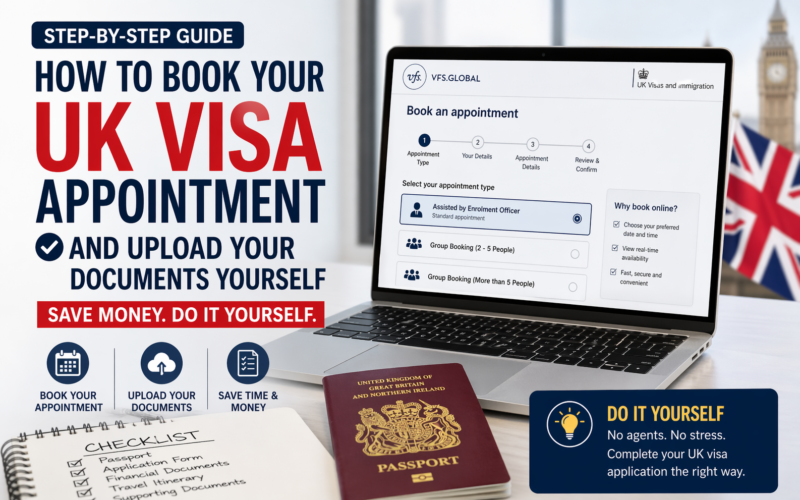
Select your appointment type. You will see a few options. For most applicants, the standard option is Assisted by Enrolment Officer this is the one you want. There are also options for group bookings: if you are booking for a family of 2 to 5 people, you can do a group appointment; for more than 5, there is a separate group booking option.
Enter your reference number. This is the application reference number from your UK visa application. Make sure your email address is also correctly filled in.
Select your location. You will be asked to choose where you want to provide your biometrics. In Nigeria, the available options include Lagos, Abuja, and Enugu. Select the one that is most convenient for you and click Continue.
Step 4: Choose Your Appointment Date and Time
VFS will now show you the available appointment slots. Here is something important to understand: the free appointment option (Assisted by Enrolment Officer – Standard) fills up quickly. If you are looking at dates and seeing no availability for the free slot, it does not mean there are no appointments it means the free slots are taken. VFS will show you paid alternatives.
The paid options include:
- Premium Lounge £70. A separate, more comfortable lounge with dedicated staff.
- Prime Time £85. Appointments outside standard working hours, so you can come in the evening.
- Flexi You can walk in at any time without a fixed appointment slot.
- On-Demand Mobile Visa £159. VFS staff come to your location to take your biometrics.
If you are patient and flexible with your dates, you will almost always find a free slot available within a week or two. In the example I worked through with a client recently, the earliest free slot was seven days out.
Select your preferred date and time, then scroll down and click Continue.
Step 5: Decide on Additional Services (And Skip Most of Them)
After selecting your appointment time, VFS will present you with a list of optional add-on services. Here is a breakdown:
- Document Upload Assistance £23. VFS staff upload your documents for you. You do not need this. I will show you how to do it yourself for free.
- Courier Return of Passport £20. They courier your passport back to you after the visa decision rather than you collecting it in person.
- SMS Notification £2. They text you updates about your application.
None of these are compulsory. Unless you specifically want your passport couriered back to you, skip all of them and click Continue.
Step 6: Review and Confirm Your Appointment
You will now see a summary screen showing:
- The applicant’s name
- The reference number
- The selected date and time
- The visa application centre location and address
Check everything carefully. Make sure the phone number is entered correctly note that you should remove the leading zero when entering a Nigerian number (so instead of 08012345678, enter 8012345678 or use the country code format).
Tick the box to agree to the terms and conditions, then click Confirm. Your appointment is now booked.
VFS will send a confirmation email to the address you provided. You can also download the appointment letter directly from this screen. Do this and send it to the applicant (or keep it if you are applying for yourself). This letter contains your appointment date, time, location, and a QR code you will need on the day.
Step 7: Upload Your Documents Yourself (For Free)
This is the part that saves you the £23. Once your appointment is confirmed, you will be taken to your VFS dashboard. Here you will see your appointment details and a section called Document Self-Upload.
Click on Document Self-Upload, then click Upload Files. You will see a list of document categories:
- Proof of Application Upload your checklist here
- Educational Evidence Transcripts, certificates, etc. (if applicable)
- Accommodation Invitation letter, rental agreement, or hotel booking
- Medical Information If applicable
- Financial Evidence Bank statements, payslips, etc.
- Life Events Marriage certificate, birth certificates, etc. (if applicable)
- Sponsor and Employment Employment letter, sponsor’s documents
- Business Documents If self-employed or a business owner
Click on the relevant category, then drag or browse to upload the corresponding document. For example, if someone is inviting the applicant to stay at their home in the UK, the accommodation section should contain the host’s invitation letter, tenancy or rental agreement, and any supporting documents from the host such as their bank statement, payslips, and proof of their immigration status in the UK.
Upload each document into its correct category, preview it to confirm it has uploaded correctly, and move on to the next one. Once everything is uploaded, click Save and Upload.
That is it. Your documents are now submitted. You do not need to hand anything physical to VFS on the day of your appointment your biometrics are what they need from you in person.
What Happens on the Day of Your Appointment
On the day of your appointment, bring:
- Your printed appointment letter (or the QR code on your phone)
- Your printed checklist
- Your original passport
- Any original supporting documents that your checklist specifies
Arrive at the visa application centre at your booked time. The process is straightforward they will verify your identity, take your fingerprints, and photograph you. The whole thing typically takes less than an hour.
What If You Need to Change Your Appointment?
Life happens. If you are not available on the date you booked, you can log back into your VFS dashboard and reschedule. You can typically change your appointment date for free up to two times. After that, a fee applies. So try to pick a date you are reasonably confident about from the start.
A Final Word: Get Involved in Your Own Application
The UK visa process is not as complicated as agents make it seem. Agents benefit financially from making you feel like this is beyond you it is not. Every step I have described above is something you can do yourself, from your laptop, at no cost beyond the official visa fee.
If you have been refused a UK visa before, or if this is your first application and you want a second pair of eyes to review your documents before you submit, that is a different matter getting a professional review of your actual application is worthwhile. But paying someone just to click a few buttons and upload your documents for you? That is money you do not need to spend.
Do it yourself. Follow this guide. And if you get stuck at any point, the comment section is always open.
Need help with your UK visa cover letter? Check out the full cover letter guide, or read about the exact documents you need to submit a strong UK visa application.